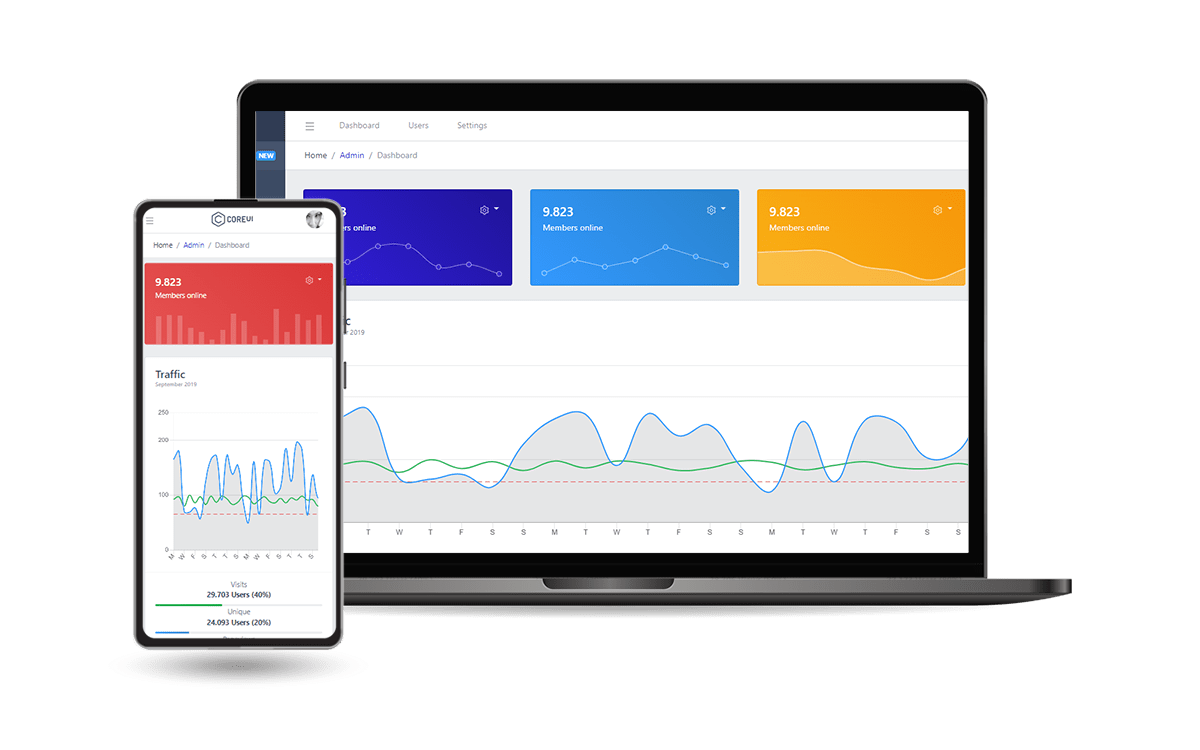
Flask CoreUI
Open-source Flask Starter coded on top CoreUI design.
Flask Admin Dashboard generated by the AppSeed platform on top of CoreUI, an iconic free dahsboard template.
Version: v1.0.7 - release date
2022-05-30
Built with CoreUI Generator
UI Kit:
CoreUIDB Tools: SQLAlchemy ORM, Flask-Migrate (schema migrations)Session-Based authentication (via flask_login), Forms validation
Deployment scripts: Docker, Gunicorn/Nginx
Links
👉 CoreUI Flask - Product page
👉 CoreUI Flask - LIVE deployment
👉 Support (Email and LIVE on Discord) for
registered users.

✨ Environment
To use the starter, Python3 should be installed properly in the workstation. If you are not sure if Python is installed, please open a terminal and type python --version. Here is the full list with dependencies and tools required to build the app:
Python3 - the programming language used to code the app
GIT - used to clone the source code from the Github repository
Basic development tools (g++ compiler, python development libraries ..etc) used by Python to compile the app dependencies in your environment.
(Optional)
Docker- a popular virtualization software
✨ Start the app in Docker
👉 Step 1 - Download the code from the GH repository (using
GIT)
👉 Step 2 - Start the APP in
Docker
Visit http://localhost:5085 in your browser. The app should be up & running.
✨ Manual Build
Download the code
👉 Set Up for Unix, MacOS
Unix, MacOSInstall modules via
VENV
Set Up Flask Environment
Start the app
At this point, the app runs at http://127.0.0.1:5000/.
👉 Set Up for Windows
WindowsInstall modules via
VENV(windows)
Set Up Flask Environment
Start the app
At this point, the app runs at http://127.0.0.1:5000/.
✨ Manage App Users
UsersBy default, the starter is not provided with users.
👉 Create Users
By default, the app redirects guest users to authenticate. In order to access the private pages, follow this set up:
Start the app via
flask runAccess the
registrationpage and create a new user:http://127.0.0.1:5000/register
Access the
sign inpage and authenticatehttp://127.0.0.1:5000/login
✨ Codebase structure
The project is coded using a simple and intuitive structure presented below:
✨ Application Bootstrap Flow
The entry point of the project is the run.py file where the project configuration is bundled. The most important files that make the project functional are listed below:
run.pyis the application entry pointread the
Debugflag from.envimport the
dbobject fromappspackageimport the
create_apphelper fromapps
Flaskapplication is built bycreate_appIf
Debug=True- SQLite is used (development mode)If
Debug=False- MySql is used (production mode)
Configuration
is defined in
apps/config.py
✨ How the Flask App object is constructed
Flask App object is constructedThe file that constructs the core features of our application is apps/__init__.py. The most important steps are listed below:
Invokes SQLAlchemy to build the
dbobject.Using
SQLAlchemywe can manage the database information with ease
Invokes LoginManager to build the
login_managerobject.login_managermanage the authentication layer (login, logout, register)
Defines
create_apphelper that does the following:create the
Flaskapp objectinjects
dbandlogin_managerobjectsloads the
configurationregister
default blueprints:authentication- handles the authentication routeshome- serve all the pages saved in theapps/templates/homefolder
initialize the database
db.create_all()- create all tables
✨ Application Blueprints
The codebase is built using a modular design that uses blueprints. By default, the project comes with a two blueprints
👉 Authentication Blueprint
Definition:
apps/authentication. The core files:
__init__.py- defines the Blueprint objectmodels.py- defines theUsersmodelforms.py- defines theLoginandRegistrationformsutils.py- helpers used to hass and verify the passwordroutes- manages the authentication routes:loginregisterlogout
👉 Home Blueprint
This module returns all pages saved in the templates/home directory to authenticated users. In case a page is not found, a generic page is returned using a 404 HTTP error status.
✨ UI Assets and Templates
The project comes with a modern UI fully migrated and usable with Django Template Engine.
👉 Page Templates
All pages and components are saved inside the apps/templates directory. Here are the standard directories:
templates/layouts: UI masterpagestemplates/includes: UI components (used across multiple pages)templates/accounts: login & registration pagetemplates/home: all other pages served via a generic routing byapps/homeapp
👉 Static Assets
The static assets used by the project (JS, CSS, images) are saved inside the apps/static/assets folder. This path can be customized with ease via ASSETS_ROOT variable saved in the .env file.
How it works
.envdefines theASSETS_ROOTvariableapps/config.pyread the value ofASSETS_ROOTand defaults to/static/assetsif not found:
All pages and components use the
config.ASSETS_ROOTvariable. Here is a sample extracted fromtemplates/layouts/base.html:
At runtime, the href property is resolved to /static/assets/css/style.css based on the value saved in the .env file:
✨ Customisation
👉 Set up the MySql Database
Note: Make sure your Mysql server is properly installed and accessible.
Step 1 - Create the MySql Database to be used by the app
Create a new MySqldatabaseCreate a new userand assign full privilegies (read/write)
Step 2 - Install
flask_mysqldbpackage
Step 3 - Edit the
.envto match your MySql DB credentials. Make sureDEBUGis set toFalse.
DB_ENGINE:mysqlDB_NAME: default value =appseed_dbDB_HOST: default value =localhostDB_PORT: default value =3306DB_USERNAME: default value =appseed_db_usrDB_PASS: default value =pass
Here is a sample:
At this point, the app should use MySql for the persistence layer.
👉 Static Assets for production
productionAs explained in the Static Assets section, the assets are managed via:
apps/static/assets- the folder whereJS,CSS, andimagesfiles are savedASSETS_ROOT- environment variable, that defaults to/static/assetsif not defined
In production, the contents of the apps/static/assets files should be copied to an external (public) directory and the ASSETS_ROOT environment variable updated accordingly.
For instance, if the static files are copied to https://cdn.your-server.com/coreui-assets, the .env file should be updated as below:
🚀 Where to go from here
👉 Access the support page in case something is missing
👉 Use CoreUI Generator to generate a new project
👉 Check-out the PREMIUM version, Flask Datta Able PRO (
live demo) for more features and improved UI✅
Bootstrap 5version✅ More pages & components
✅
Dark-Mode✅ Priority on support
✅ Flask Datta Able PRO -
product page

Last updated